Prerequisites:
- HikCentral Professional must be installed and all the services running.
- WAN access MUST be enabled with the public IP address populated.
- Microsoft Power Shell.
- OpenSSH.
- HCP Cert Too (download link below)
Process 1: Creating and converting the certificate. This should be done on the server hosting the HCP
1. Make a folder in the root of the “C” drive called “HCPCertTool”.
2. Copy all the contents of the “HCPCertTool.zip” to the “HCPCertTool”.

3. Locate the “HCPCertTool” application, then right-click and select “Run as administrator”.
Running as administrator MUST be done, otherwise, you will get a BeeNet error.

4. Click “Yes”. After a few moments, a certificate will be created in the “HCPCertTool” folder called “root.crt”.


5. Confirm the file was created.

6. Right-Click on the “root” file and select from the context menu. “Install Certificate”.

7. Choose “Local Machine” and click next.

8. Select as follows in the screenshot below. The click “ok” and “Next”.


9. Click “Finish” and the cert will be imported.

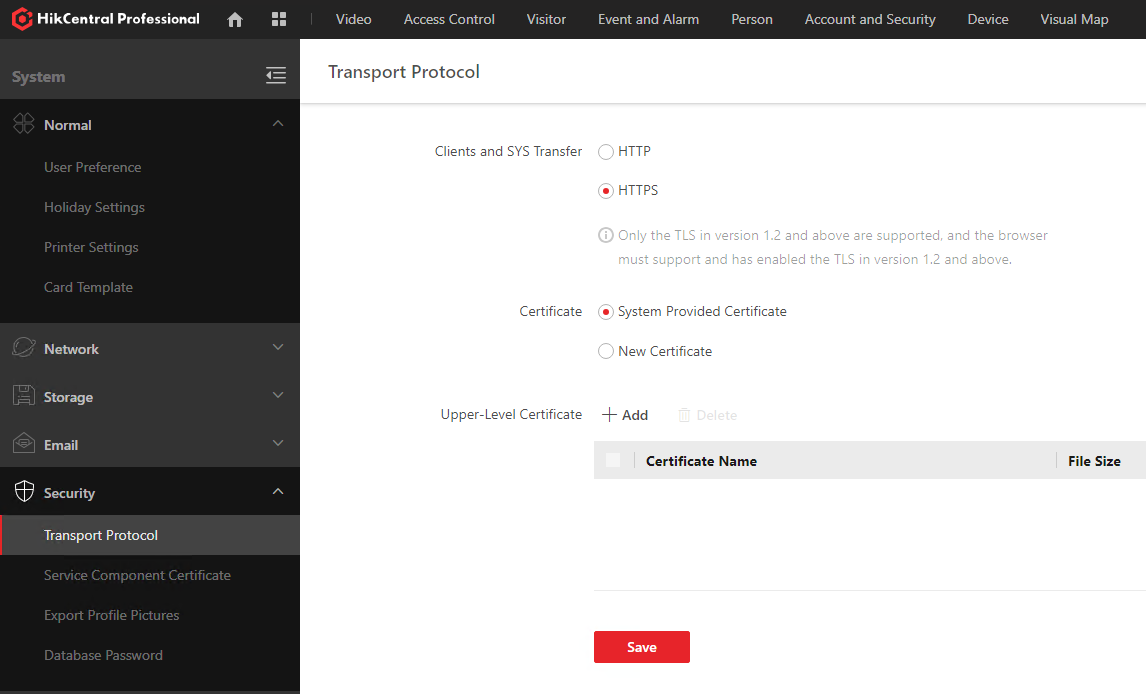
Process 3: Importing the certificate into the HCP server.
- Launch the HCP web client and log in as “admin”.
- Go to “System”à”Security”à”Transfer Protocol”.
- Select “HTTPS”.
- Leave “System Provided Certificate” selected.
- Click “Save”.
- Click “Ok” when prompted.

7. After a few moments. Close the browser and then re-launch the browser and log back into the web client. You can then see the details of the secure connection to the left of the address line.
